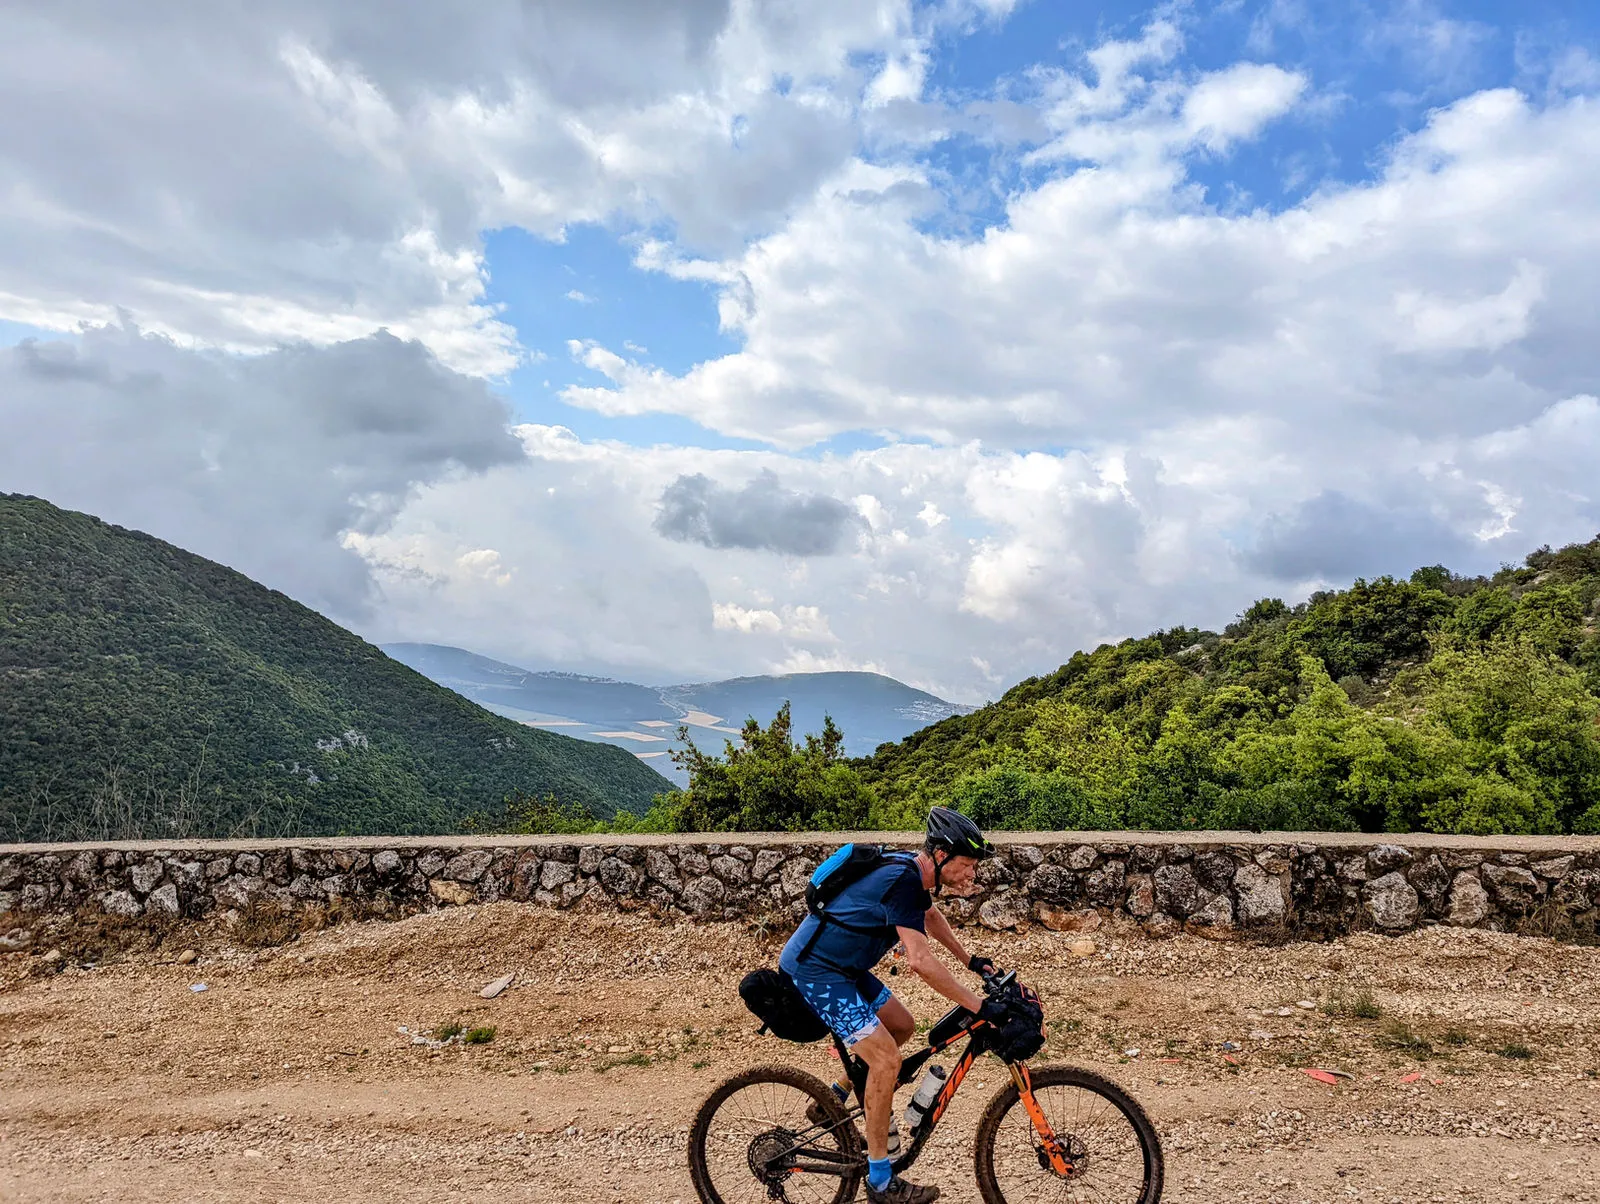
Nothing beats looking back two years later and reliving it all. Here are our tips for shooting photos and video on your phone while riding.
A quick composition lesson
Tap the button to show or hide the rule-of-thirds grid on the photo.
-
01
Rule of thirds Split the frame into 9 parts. Instead of centring the rider, put them on one of the lines or where two lines meet.
-
02
Where’s the horizon? Dramatic sky? Horizon on the lower line. Striking landscape? On the upper line. Almost never in the middle.
-
03
Room to ride Leave space in the direction the rider is heading. A rider touching the edge looks about to leave the frame.
-
04
Leading lines A trail, fence or wadi entering from a corner leads the eye to the rider and adds depth.
-
05
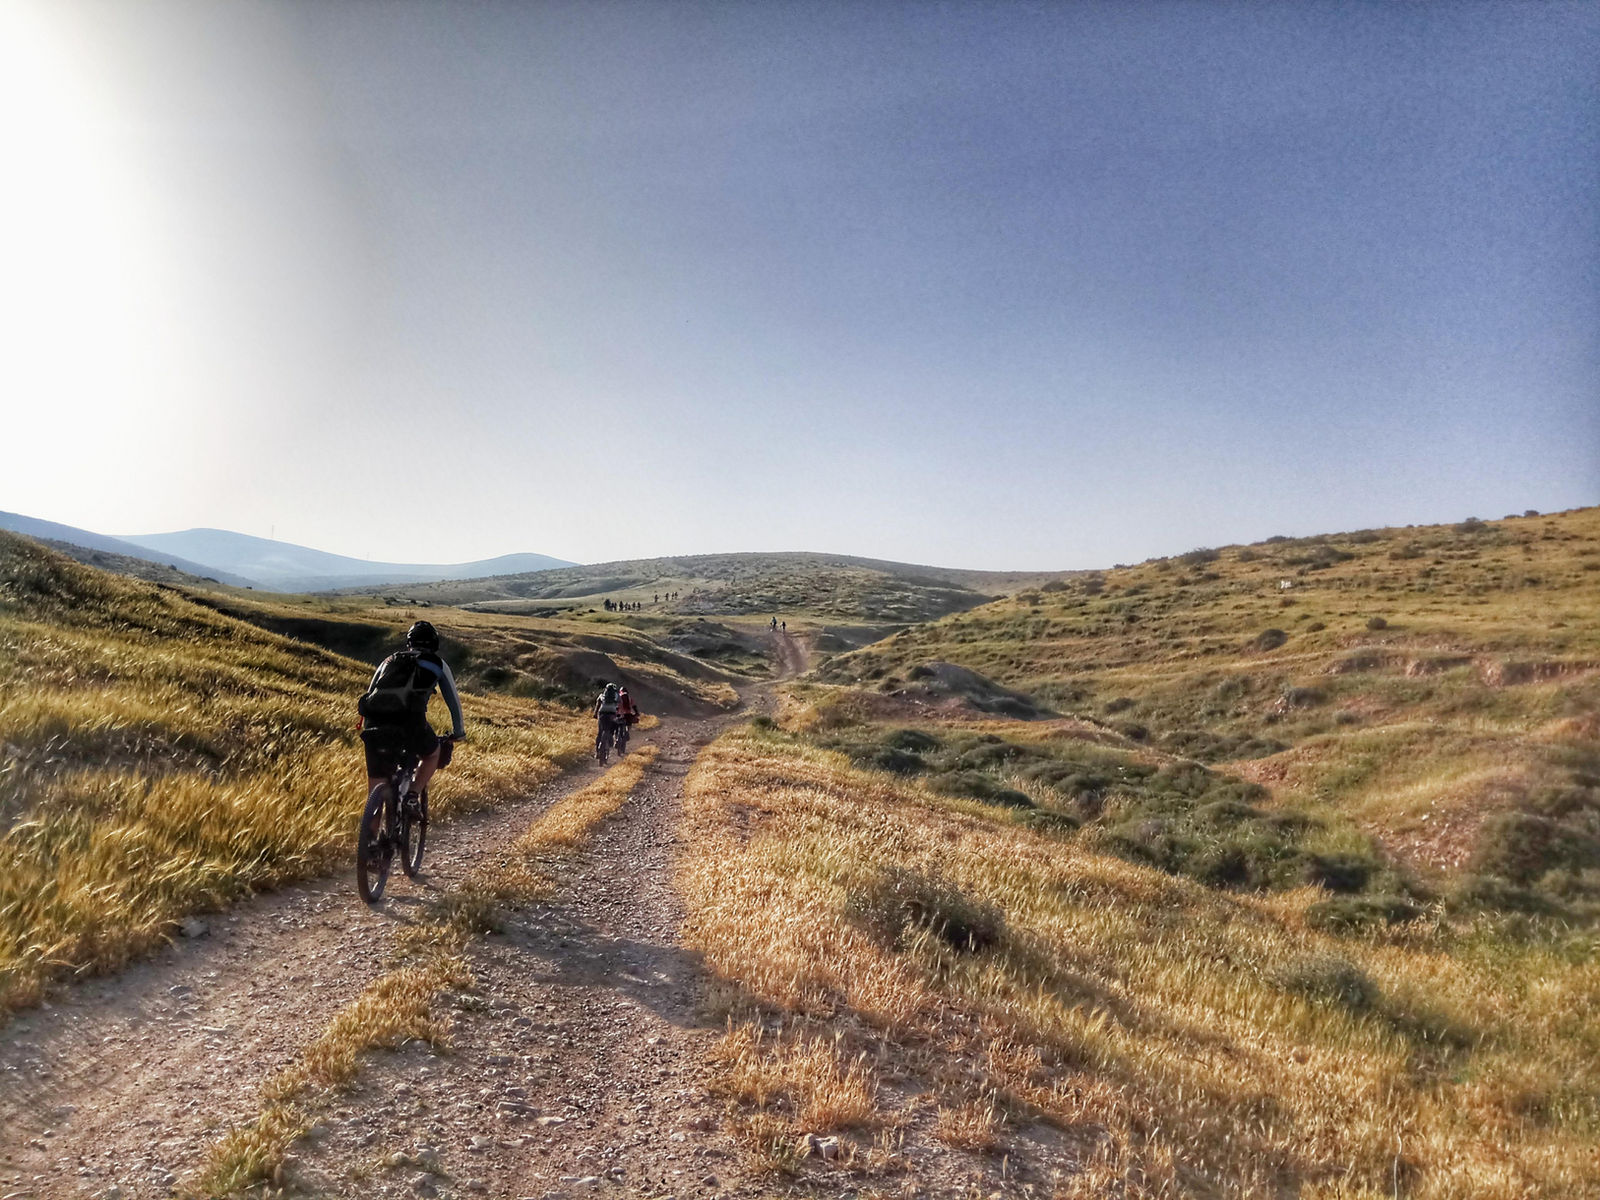
Scale A tiny rider in a huge landscape says more than any words about how vast the place is.
Accessories
Handlebar phone mount
Holds the phone securely so you can film even on a tricky descent. Make sure the footage isn't shaky, and test before you go.
Instead of balancing on rocks
A small, minimalist tripod you can set up anywhere. Great shots without wasting time hunting for a stable spot.
Photos
Zoom
On most phones zoom is digital and lowers quality. You can always crop in later, but you can't zoom out.
Settings
Before the ride, set maximum resolution and try different aspect ratios. Take test shots at home and view them on a big screen.
Where is it going?
Instagram only? Portrait. A film or Facebook? Landscape. Landscape generally looks better and shows more of the scene.
Different angles
Low adds depth, looking up adds power, a slight tilt creates flow. Have fun with it.
Night shots
Got a good bike light? Use it instead of the flash, and your photos will always come out better.
Sunsets and backlight
Shooting into a soft sun can be striking. If there's a person in frame, shoot them from behind.
Photos aren't everything
You're not out there to shoot. Don't stop every five minutes. Pick your moments: a break, a unique view, an encounter that won't repeat.
Back up
Before you leave, turn on automatic photo backup and pay for the service if needed. Nothing is crueller than losing it all.
Video
When to start filming
If you plan a film, start from the prep and the drive. At the end, shoot a long landscape take for the credits. More footage makes a better film.
Filming while riding
Safety first! Filming one-handed takes practice. Start slowly on safe ground, never on rocky terrain.
What to film?
Mix talking moments with scenery, and shoot plenty so you have material to edit.
Video settings
Shoot in 4K if possible and turn on stabilization. Film a sample and watch it on a TV.
During breaks
Film yourself eating. It breaks up the riding footage, and people love seeing what others eat on a trip.
Editing
Who is it for?
For yourself or family? It can be long, but focused. For Facebook? Super focused, 6 minutes max.
Tell a story
Think about structure: when each day starts and ends, talking that breaks up scenery. Don't forget the hard moments: breakdowns, exhaustion. They're the most interesting.
Editing app
Pick a tool with a gallery of all your clips, easy cutting and pasting, music that doesn't get cut with the video, and background-noise muting.
Before you share
Have a friend watch it and notice when they get bored or smile. Don't be afraid to cut.
Music rights
Some artists block their music and Facebook mutes the section. Upload a short test clip before adding it to your film.
A shot list for every trip
The big view
A small rider in a huge landscape. Stop, run ahead with the phone and let a friend ride into the frame.
Bike portrait
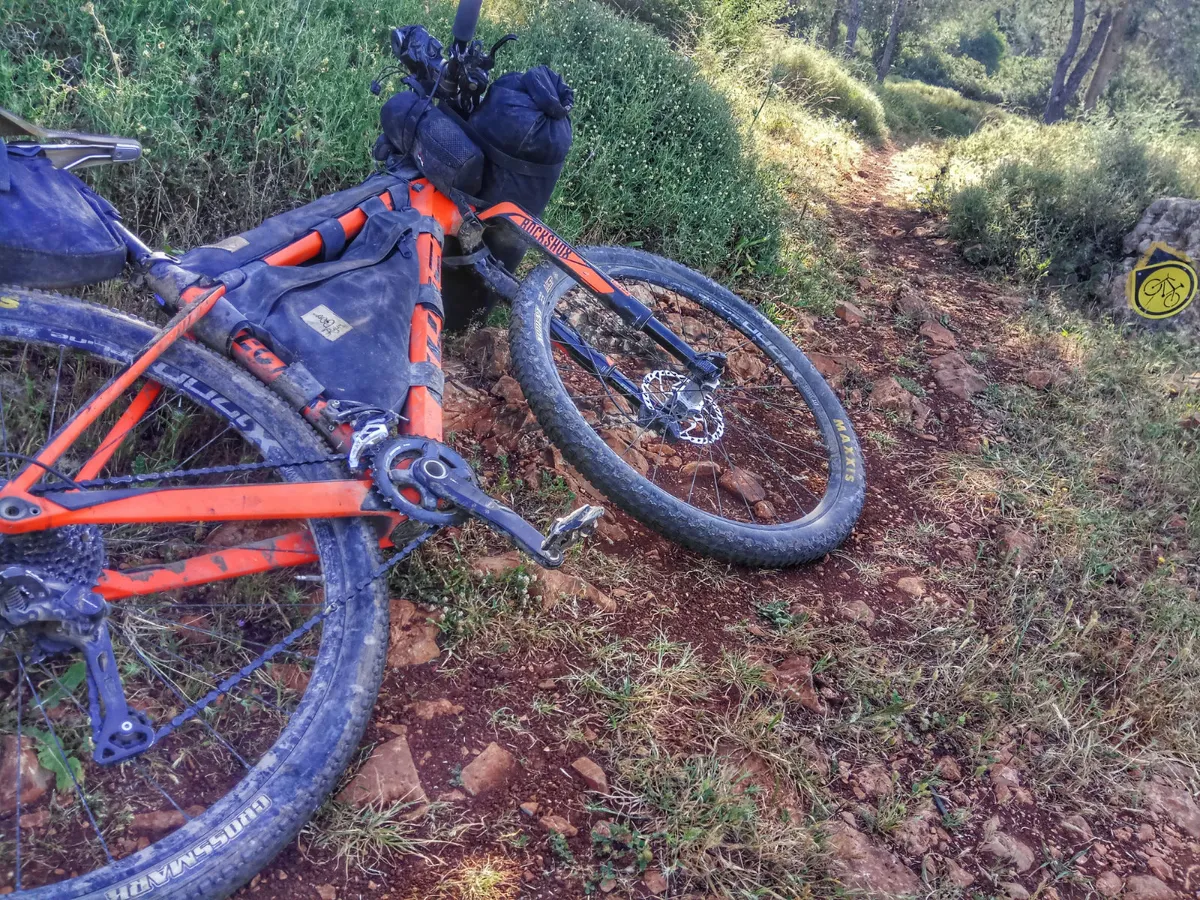
The loaded bike leaning on a rock or tree, in soft light. A shot every bikepacker loves.
From the saddle
The handlebar at the bottom, the trail stretching ahead. Shoot on a safe, straight section or with a bar mount.
Golden hour
The hour after sunrise and before sunset. Soft, warm light and long shadows. Plan to be somewhere beautiful then.
Camp at night
A tent lit from inside by a head torch under a starry sky. Put the phone on a tripod and use night mode.
Small details
Coffee on the stove, dusty hands on the bars, a map spread out. Small shots that tell the big story.
People and places
The gas-station clerk, the family who invited you for coffee. Ask permission, and get the photos you’ll remember most.
The hard moments too
A puncture in the sun, pushing up a climb, mud to the knees. A year from now these will be the funniest photos.
Inspiration from the trail